DISCLAIMER: This tutorial and the author in no way, shape or form promotes copying artwork of any kind to resell or claim as ones own.
This Tin Tin hand painted cel animation sheet was created as a birthday present and photos documenting the process were used only for this free tutorial. The author acknowledges the original drawing was made by its creator Herge and claims no ownership over the design.
What Is Cel Animation?
Cel Animation was a game changer in traditional animation. Before cels were introduced, backgrounds, characters and objects were all drawn on one sheet, with everything having to be redrawn for each frame. As a result, this gave pre-cel animation a varied appearance, as everything drawn looked slightly different from the previous frame.
The introduction of Cel Animation introduced layers (like Photoshop layers) in which animators could draw certain parts of each frame separately. This saved animators the stress of redrawing backgrounds and other static images, as well as creating an overall uniform appearance.
Hand Painted Cel Animation Tutorial
What you Need:
- A Thin Permanent Marker (I used an Artline 725 Pen)
- A Clear Binding Cover (used as an alternative to Cel Animation Sheets)
- Paint Brushes (preferably round) in various sizes
- Acrylic Paints
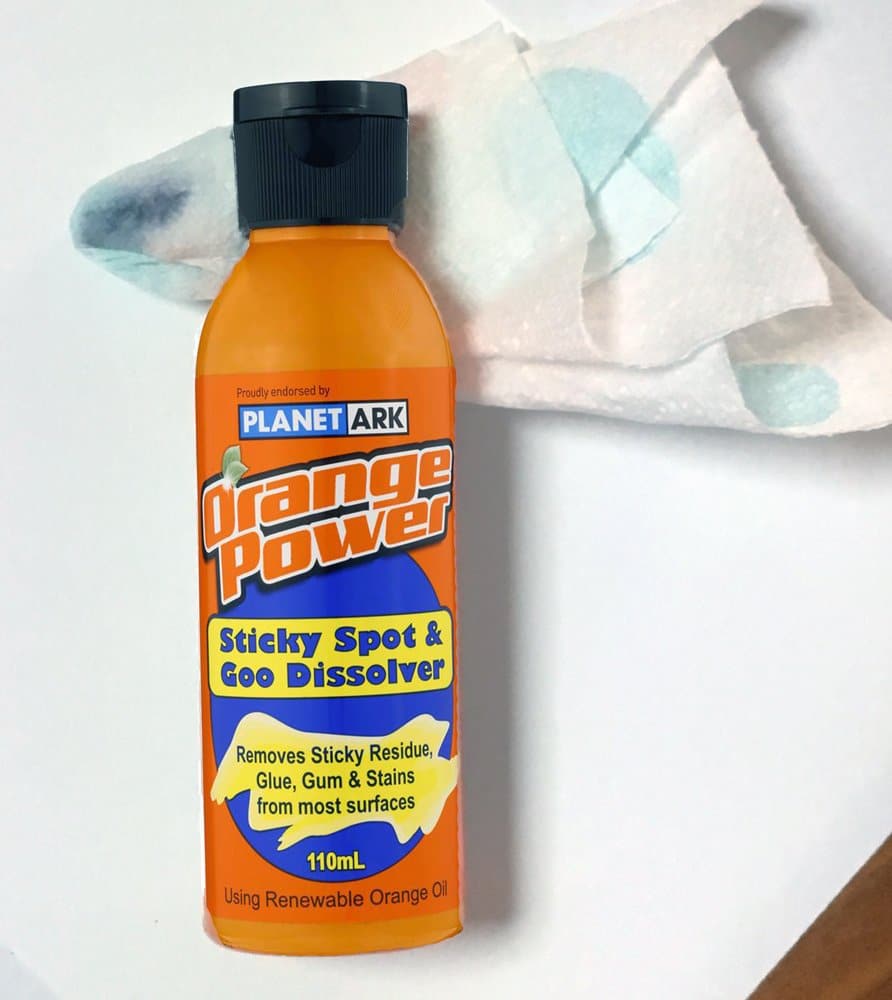
- Goo Remover (I used Planet Ark Orange Power Goo Remover)
- Cotton Buds
Time needed: 1 hour and 20 minutes
Have you ever wanted to create your own Hand Painted Cel Animation, but don’t know how? Follow this Step by Step Tutorial to see how you can make one yourself.
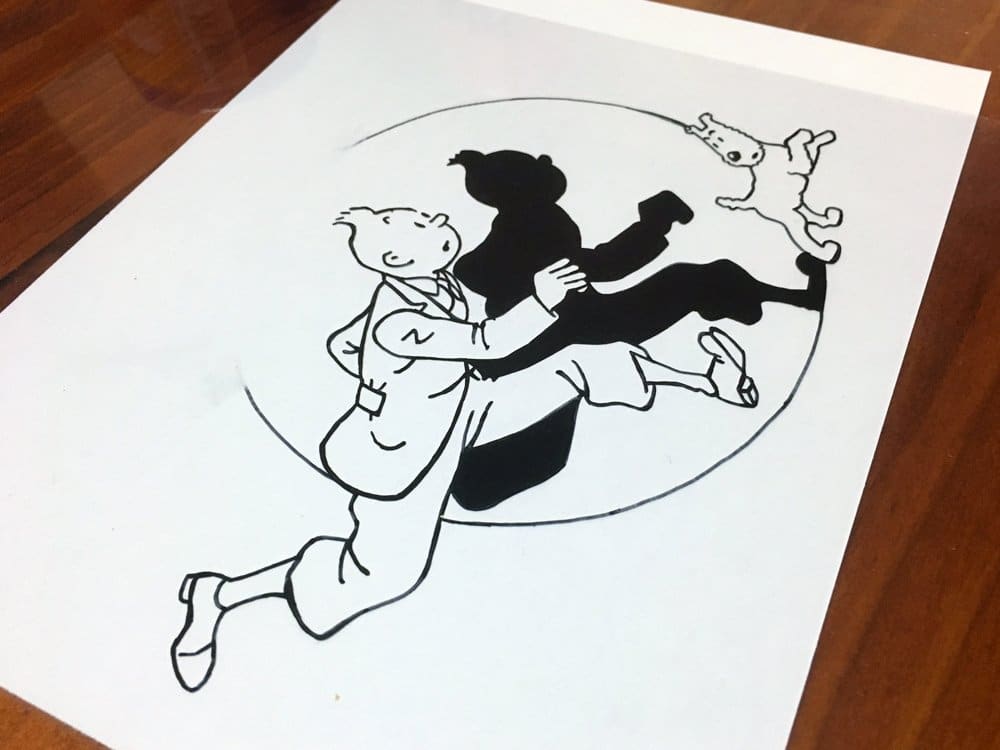
- Creating your Artwork Outline
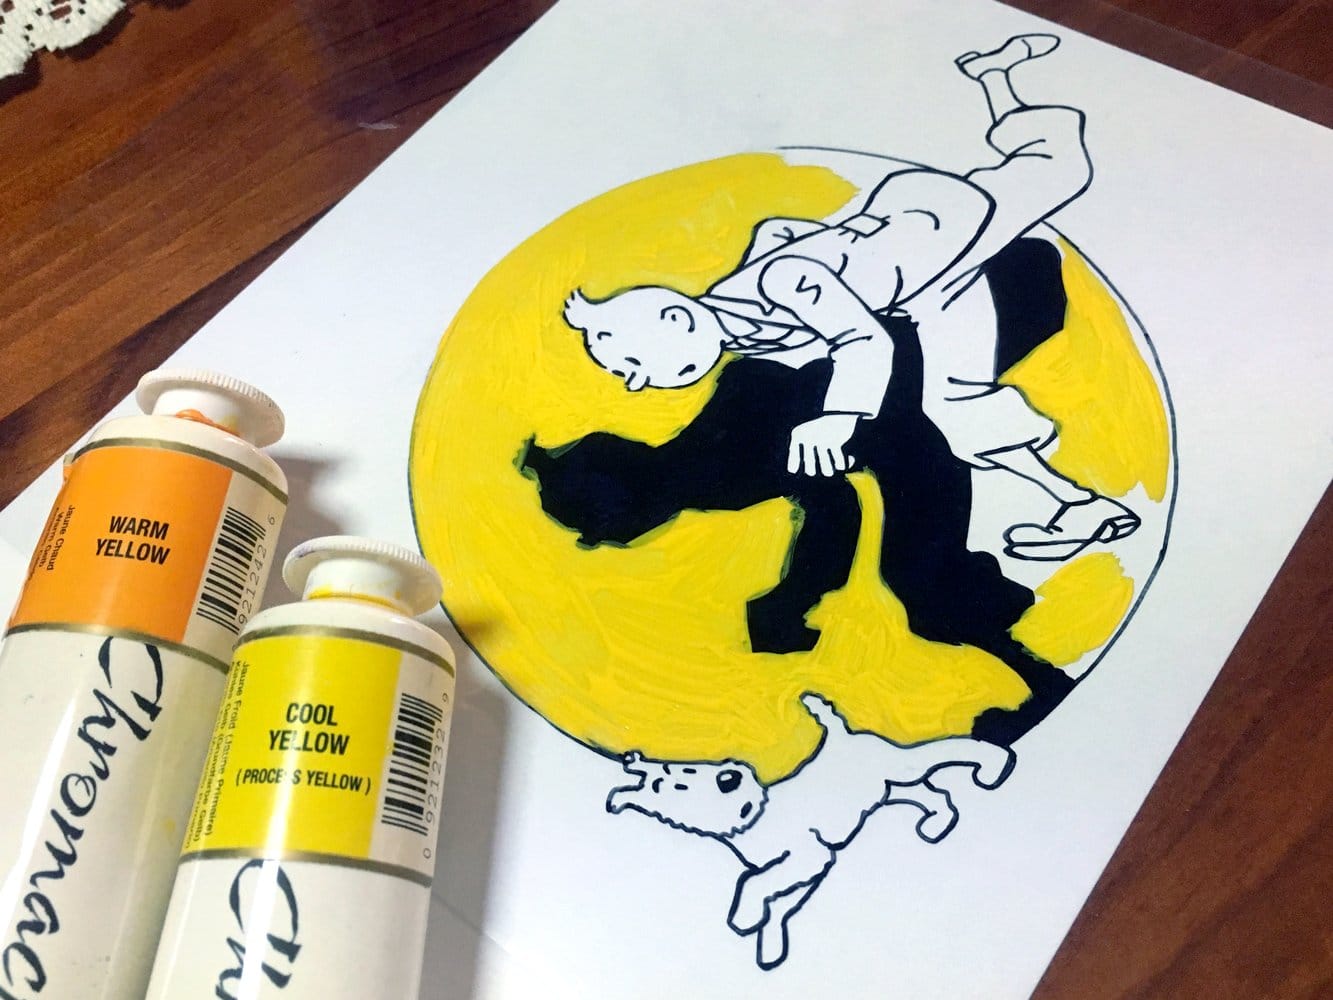
Using your permanent marker, ink your finalised design onto the clear binding cover.
TIP: Add lines that won’t be in the final image for easier colouring. For example, I’ve outlined the circle around TinTin and Snowy in order to create an accurate circle.
I will remove the circle on the hand painted cel animation at a later stage in the tutorial.
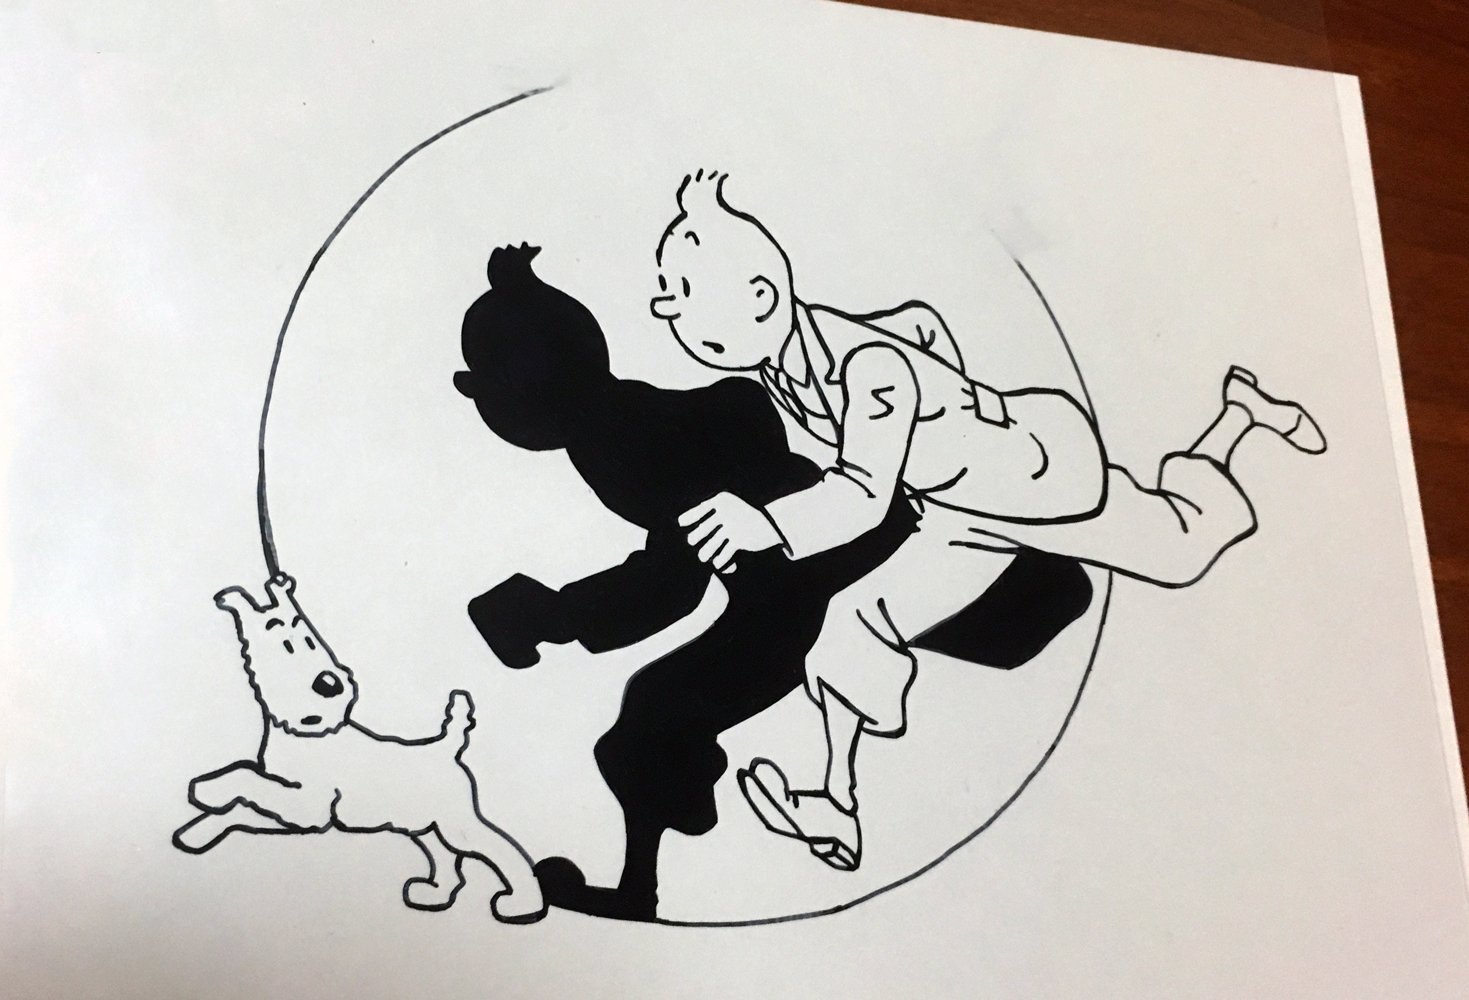
- Flip your Artwork over
The paint will be applied on the reverse side in order to not ruin your inked lines. When mixing your paint do not add water – we want this paint to be as thick as it can be!

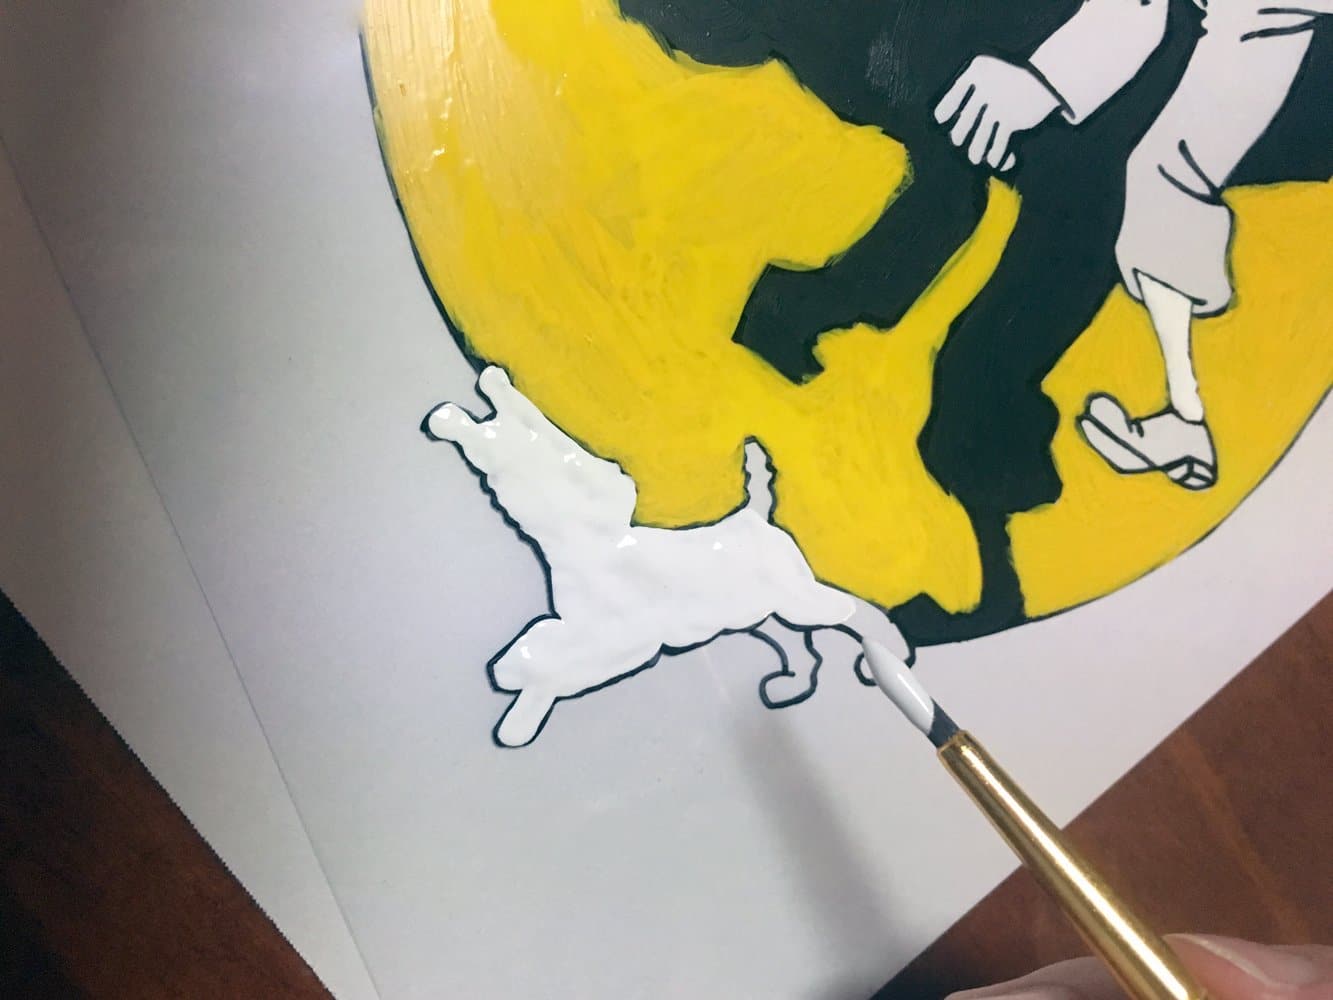
- Begin Painting your Cel Animation
Instead of using brush strokes for this hand painted animation cel tutorial I loaded my brush with a large amount of paint and laid in my colours thickly using a blobbing technique for small areas (see the Snowy the dog being painted below).
As a result Snowys colour came out looking strong with no streaks or see through areas. This technique can also be used in larger areas with a larger rounded brush.
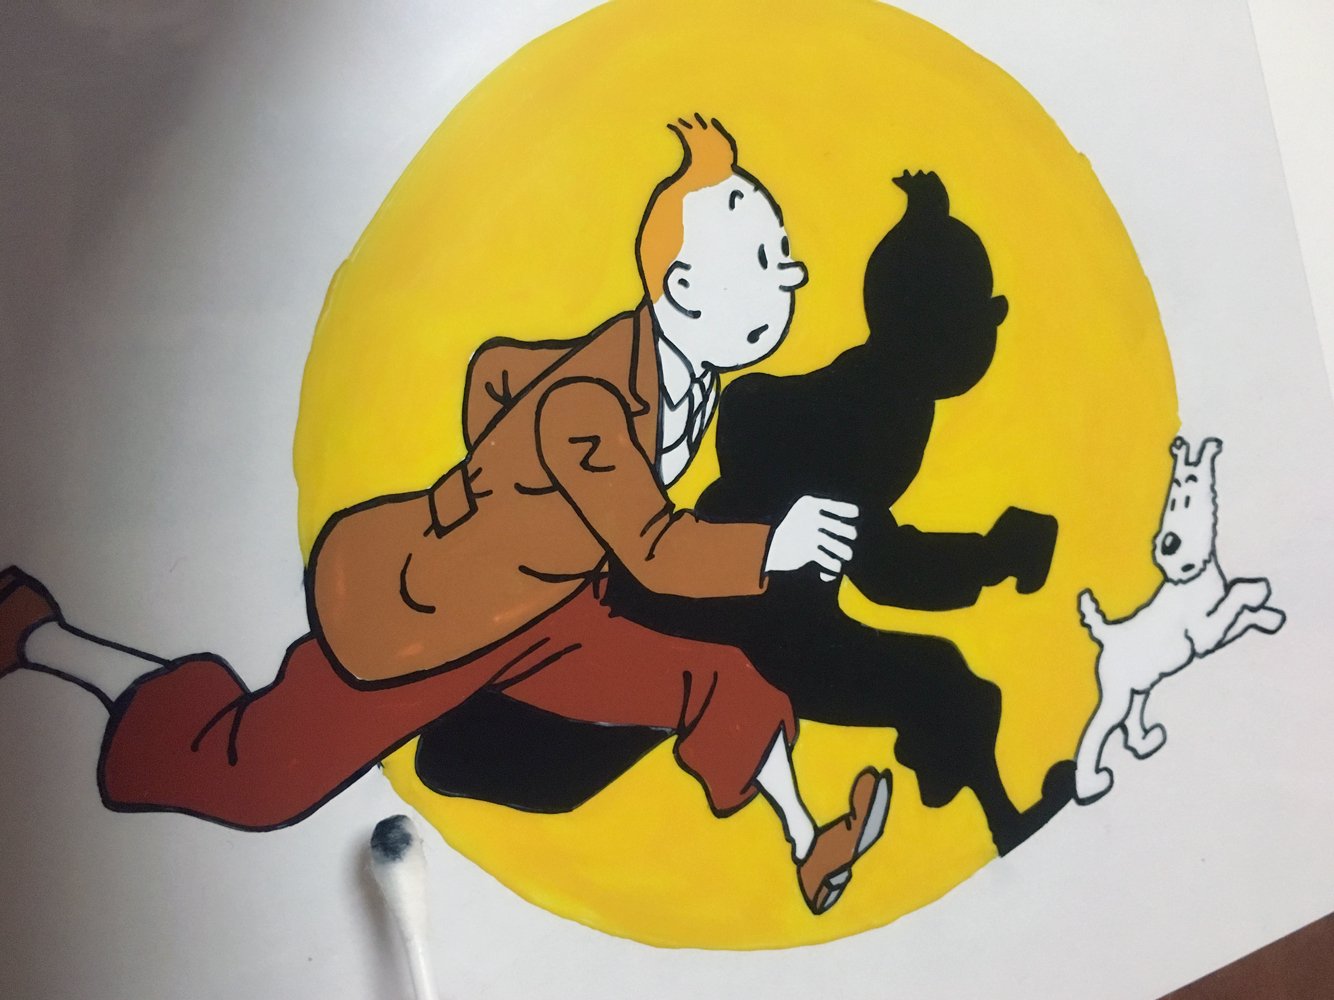
- Continue adding Colour
Continue painting your cel and occasionally flip your artwork over to ensure you are on the right track.
- Final Touch-Ups
Wait for your paint to dry, then remove any unwanted lines using a cotton bud soaked in your chosen Goo Remover. This will remove any permanent markings made in step one that were added as a guide for painting purposes.

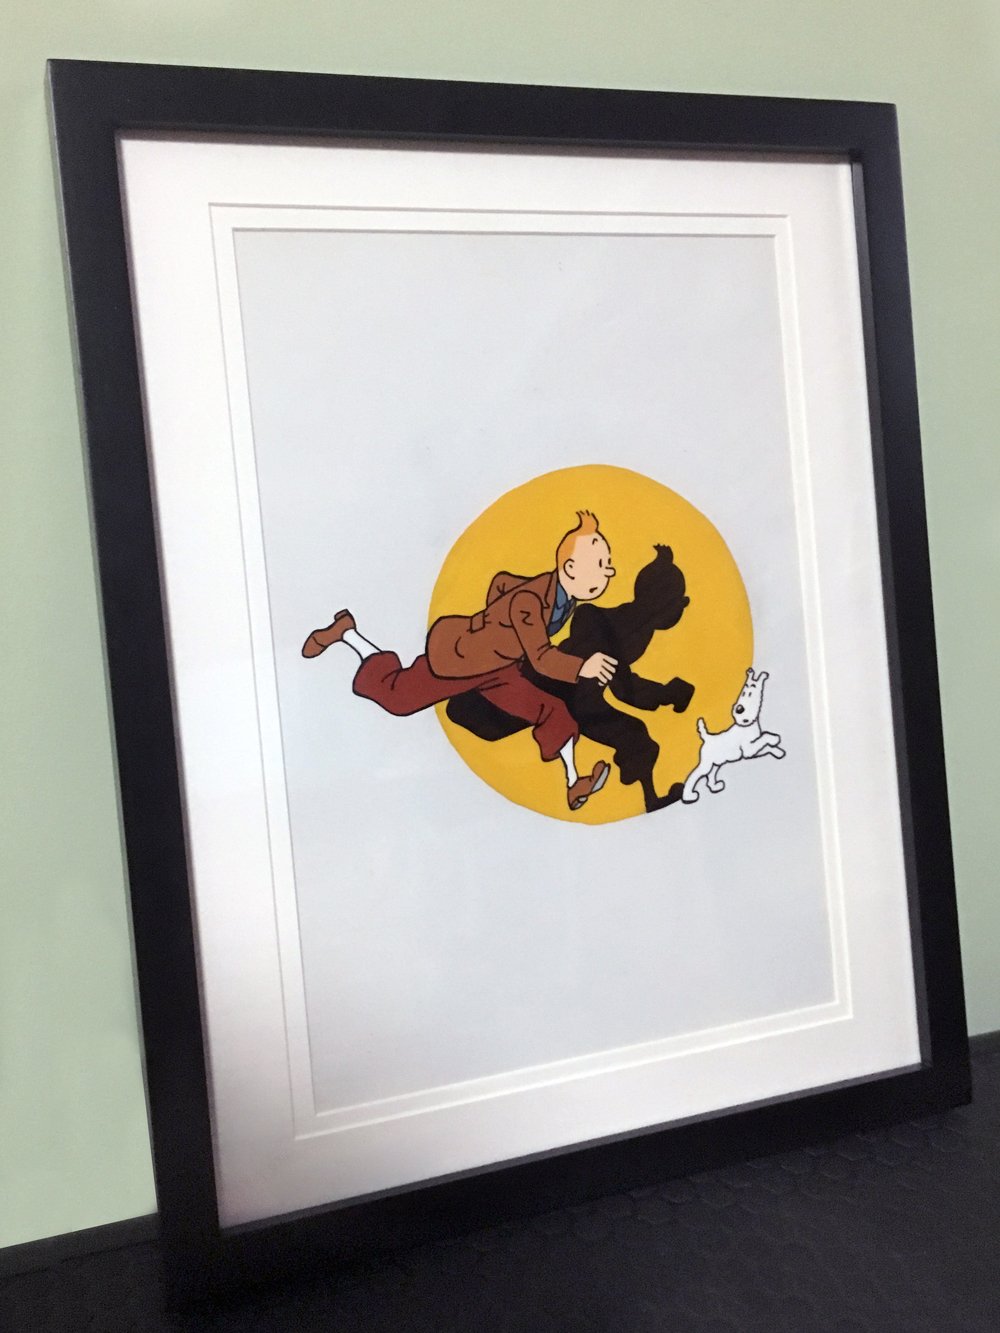
- Your Cel Animation is Complete
Alternatively, you can create separate background to place behind your cel animation design, or leave the background blank as I have.

Want more awesome tutorials? Check Out My Free Resources and Tutorials Page